
Start Selling Tickets on BookItEase in 4 Easy Steps (Video Guides)
Sign up, create your box office and get paid by card or bank transfer. Four short video guides to set up BookItEase in minutes.
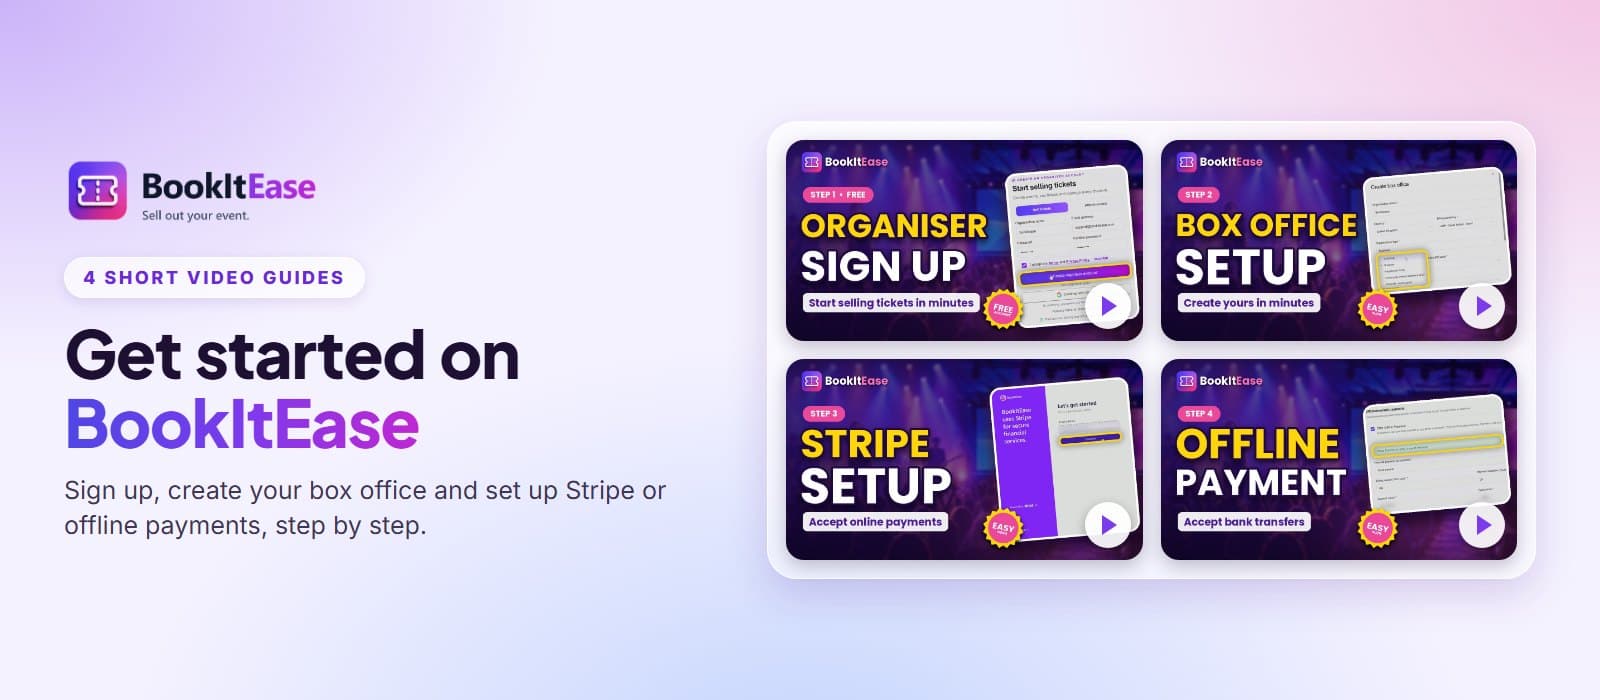
New to BookItEase? You can go from signing up to taking your first booking in just a few minutes. We've made four short videos that walk you through every step: creating your organiser account, setting up your box office, and getting paid by card with Stripe or by bank transfer with offline payments.
Watch them in order, or jump straight to the step you need.
Watch the 4 setup videos
Step 1: Create your free organiser account
Your organiser account is where you create events, sell tickets and manage check-in. It's free to set up, and you only pay a small platform fee when you sell paid tickets.
Go to bookitease.com/signup and choose Sell tickets.
Enter your organisation name, email address and a password, then accept the Terms and Privacy Policy.
Click Create organiser account, or use Continue with Google to sign up in one click.
Check your inbox and verify your email address.
Step 2: Create your box office
Your box office is your organisation on BookItEase. It holds your events, branding, team and payment settings, and it's what customers see when they book with you.
Enter your organisation name.
Choose your country and billing currency, for example United Kingdom and GBP.
Pick your organisation type: Individual, Business, Registered charity, Community Interest Company (CIC) or Nonprofit. Charities and not-for-profits can qualify for reduced platform fees.
Save, and your box office is ready for your first event.
Step 3: Set up Stripe to accept card payments
Stripe lets your customers pay securely by card, with the money paid out to your bank account. BookItEase uses Stripe Connect, so you keep your own Stripe account.
Open your settings and start the Stripe setup.
Follow Stripe's secure sign-up: your email, business details and the bank account you want to be paid into.
Once Stripe has verified your details, choose Stripe as the payment method for your events.
The Stripe page in your settings shows exactly how and when your money reaches your bank, from the customer's payment to the payout.
Step 4: Set up offline payments
Prefer bank transfers, or taking payment at the door? Offline payments let customers book now and pay you directly.
Tick Offer Offline Payment in your payment settings.
Choose how you'll collect payment, such as bank transfer, and add your bank details and a payment deadline.
Customers see your payment instructions at checkout. Their booking shows as Awaiting payment until you mark it as paid.
Stripe or offline payments: which should you use?
Stripe is best for most events. Customers pay instantly by card, tickets are issued straight away, and there's nothing to chase.
Offline payments suit community groups, schools and members' events where people prefer to pay by bank transfer or in person.
You can offer both, and let each customer choose at checkout.
What's next?
With your account, box office and payments ready, you can create your first event, add ticket types or reserved seating, and publish it. Share your event link on WhatsApp and social media, and scan tickets at the door with the BookItEase check-in app.
Welcome offer: register before 31 December 2026 and pay no BookItEase ticket platform fee on your first 2 paid events taking place by 31 January 2027. Stripe processing fees still apply. Terms apply.
Ready to start? Create your free organiser account, and subscribe to BookItEase on YouTube for more step-by-step guides.